Showing posts with label Snacks. Show all posts

Saturday, April 21, 2012

Achappam Recipe


Recently, when I went to a Baker's shop, I came across, this humble simple snack which used to be so common in our childhood days...My hubby happily bought them for me...I still remember, how my mom used to prepare crispy Achappams for Tea and how we used to just enjoy this crunchy snack..

I wanted to make this and recreate the memories for my kids..For preparing  Achappam, you need a special iron mould, which needs to be heated in the oil, then dipped into the batter and then back to the hot oil to fry them. You do need to have a lot of patience when you prepare them... : )

So, let's have a look at it...

Ingredients:
  1. Rice flour - 2 cups
  2. Egg - 1 well beaten
  3. Sugar - 2 tbsp
  4. Black sesame seeds - 2 tbsp
  5. Coconut milk -thick milk from 1 coconut
  6. Salt - 1/4 tsp
  7. Oil for deep frying
Preparation method:

First , mix the rice four with half of the coconut milk and knead it well. Add the beaten egg to this mix and mix it well again. Now add in the remaining coconut milk, sesame seeds, sugar and salt and slowly stir it to a batter of medium thickness.

Next, heat oil in a frying pan. Dip the iron mould in the heated oil. Keep the oil on low flame as we don't want our Achappams to burn. Then, dip three-fourth of the mould in the batter. Please take care that the mould should not be fully coated.Next, dip the mould coated with batter in the oil. Hold it for a min or two and shake the mould slightly. The Achappam will slide gently into the oil. Fry till it turns golden brown. Remove and drain on paper towel to remove excess oil.

The mould needs to be heated each time before dipping it in the batter, or else the batter will not stick to the mould. Also, the same happens if the mould is over heated.

Repeat the same with the remaining batter.. Serve them with Tea and enjoy a crunchy Tea time !!

Tuesday, March 6, 2012

Uzhunnu Vada Recipe


Few days back my hubby suggested why not go and have a vegetarian dinner...I was more than happy to hear that...

It's been long since I had Uzhunnu Vada..so, why not order the same..In a few mins, hot crispy vadas were served..It was a real treat..All the time, while relishing those yummy vadas, I was getting ready to prepare the same for breakfast...

My mom always makes crispy vadas and I also enjoy them but never tried them myself.

Now, that I was all determined to try them for the Friday breakfast, there's no alternative to it.

Let's check out this recipe.

Ingredients:
  1. Urad dal - 2 cups
  2. Green chilly - 2/3 chopped
  3. Whole pepper - 2 tbsp
  4. Curry leaves - 1 sprig
  5. Salt - as required
  6. Oil - for deep frying
Preparation method:

Soak the Urad dal overnight. Wash and grind well to a fine paste using  little water say 4/5 tbsp and add more if required. The idea is the batter should be of medium thick texture.

Once done, add in the green chilly, curry leaves, whole pepper and 1 tsp salt. Stir the batter well and add more salt if required.

Next, heat the oil in a kadai. Wet your palms when shaping each patty to avoid the batter from sticking to the palm. Take a small amount of the batter and shape it into a small patty and make a hole in the middle of the patty. Slide the patty carefully into the hot oil. Fry till golden brown. Repeat the same for the remaining batter.

Serve it hot with coconut chutney :)

Saturday, January 21, 2012

Breaded Chicken Pockets


I am across this recipe when my dear colleague a few days back, got us these delicacy appetizers. It tasted great!
             
I immediately asked her what's this? something very new..Oh...these are sandwiches with chicken mayo, she said..

No, I told myself..this appetizer deserves much more attention.. Yes, I renamed them on the spot ... From now, these will be called " Breaded Chicken Pockets"

The very next day, I made it for my son's lunch box or I must say snack box as he get's back home by 2:00, right in time for lunch. He told me, ma it rocks!! me and my friends ..we enjoyed it! I was so happy to see that smile on his face.

Yesterday, I made them again..and my hubby and kids just enjoyed them...

So, lets see how do we go about it...

Ingredients:

  1. Chicken Filling
  2. Sliced bread - 1 jumbo pack
  3. Eggs - 3 well beaten
  4. Cream cheese spread - just enough to seal the edges
  5. Mayonnaise - just enough to spread in the sandwiches
  6. Bread crumbs
  7. Oil - for deep frying
Preparation method:

All right, first step is to prepare the Chicken filling.

Each pocket requires two slices of bread. First we needs to cut ot a circle from each slice.

You can do this by using a cup or lid with a sharp edge. Repeat the same till your have a pair of circles for the number of pockets you wish to make.

Take the first circle, apply the cream spread on the edges of the circle. Cover it with the other half and seal the circle. Now lets call this the pocket.

Repeat the same for the other circles. Once you are done, dip each pocket in the beaten eggs and  roll it in the breadcrumbs.

Once all the pockets are done, Deep fry each pocket, till it turns golden brown. Cut the fried pockets into 2 equal halves. Slightly open the middle of the pocket with a knife , taking care not to open the edges.

Apply a layer of mayonnaise and stuff in the chicken filling. Repeat the same with all the other pockets.

Voila !! our breaded chicken pockets are ready !!

Serve them hot !! with ketchup.... :)


Thursday, December 15, 2011

Petti Pathil


This recipe is dedicated to my dear sister-in-law who always enjoys my dishes and is an inspiration for me to try out new recipes : )

Petti means box in 'Malayalam' and Pathil is a term which is commonly used for roti / appam.

As this has the look of a box it's named as Petti Pathil. This snack has it's special place in our Parties / Puthiyappila (Bride groom) Thakarram as we call it LOL !!

All right, let's have a look at it...

Ingredients

  1. Maida - 3 cup
  2. Aata - 1 / 2 cup
  3. Salt - 1/2 tsp
  4. Chicken filling
  5. Boiled eggs 2 or more as required
  6. Oil for frying
  7. Water for kneading the dough
Recipe

First step, prepare the Chicken masala / filling
Next mix maida, aata, salt and kead the dough with sufficient water to make a pliable and smooth dough.

Divide the dough into equal number of balls. Each pathil requires a base and a cover.

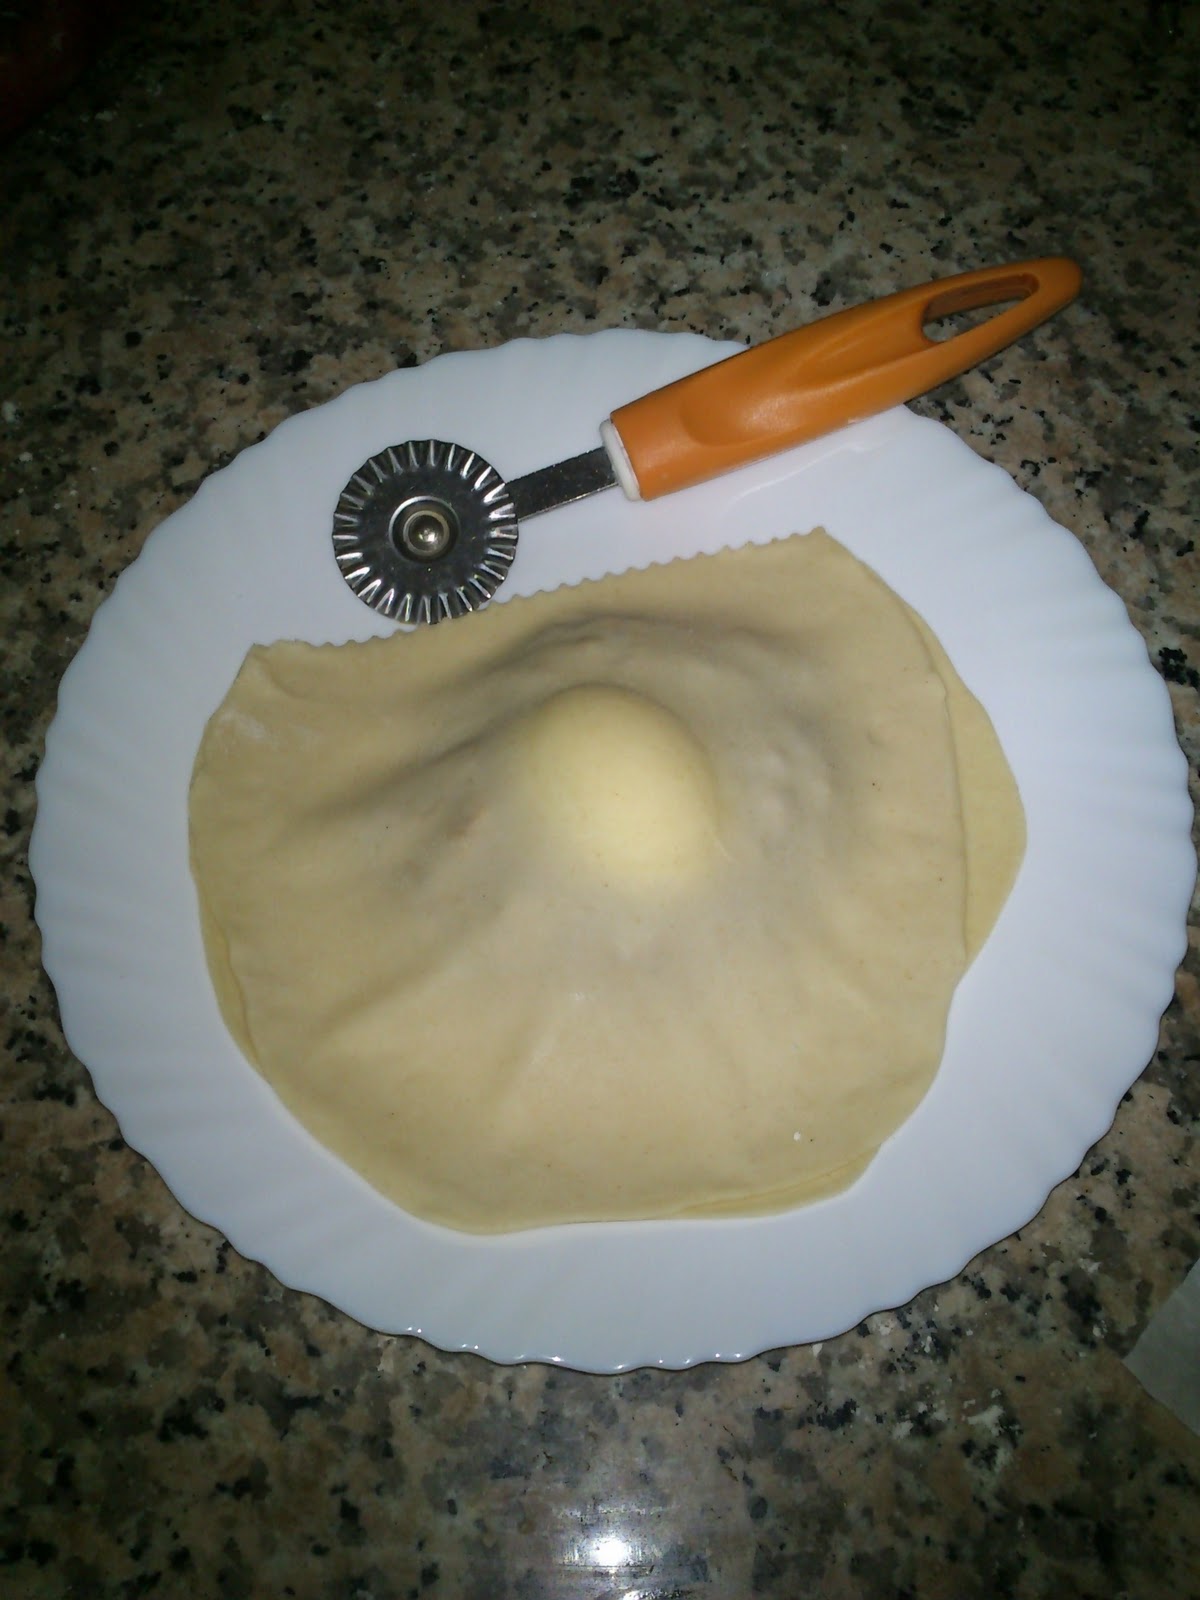
Roll 2 balls individually to discs. Place the masala in the centre of the first disc as shown below.


Cut the boiled eggs into two equal halves. Each pathil requires half egg. Place the egg on top of the masala.


Place the other disc on this and press the edges slightly.


Use a cutter and cut the edges to make a design on all four sides.


Now the pathil is ready to be fried.


Heat the oil and deep fry the pathil till both sides turn slightly brown. Remove and place on tissue / paper to absorb excess oil.

Repeat the same with the remaining balls.

Our Pettil pathil is ready to be served ....

Saturday, December 10, 2011

Tea time...It'Maggi time


So, I am back after our Tea Time :)  I got enough time to blog as today is our weekend. Work starts tomorrow. Yup, busy days ahead.

We just had our tea and my elder one suggested we have noodles for tea. I checked my cabinet to see if I did have any packets left. I was glad to see that I did..

Kids are often found of these instant noodles..

Ingredients:

  1. Maggi / Any pack of instant noodles.
  2. Onion - 1 small
  3. Green chilly- 1 chopped
  4. Tomato - 1/2
  5. Egg - 1
  6. Pepper powder- as required
  7. Oil - 2 tbsp
Method:

Boil the noodles and drain. Take care not to over cook then unless we want noodle soup :)

Take a wok or a saucepan. Heat the oil. Saute the onions and green chilly. Once the onion turns brown, add in the tomatoes and satue till the tomaotes are cooked.

In the mean time, beat the egg with salt and a pinch of pepper. Add this to the sauted mix and scramble it well. Once the egg gets cooked add in the boiled noodles and mix well.

Also dissolve the noodles taste maker powder in 2 tbsp of water and add it to he noodles. Mix it well and sprinkle pepper.

Please add the pepper according to your spice meter as for kids I always make it less spicy.

Its ready to be served. Topp it with a little ketchup.

It winter here in UAE. So me and my hubby, we enjoyed it with a cup of steaming tea.

I guess, Tea is always welcome :)